Beginners Guide to Indoor Cycling
1 CommentIndoor cycling is an extraordinary way to improve your health and fitness from the comfort of your home. But where do you start? Do you buy an upright bike, recumbent bicycle, bicycle trainer for your road bike, or fancy “smart trainer?” The options may seem daunting but let me help you make the best choice for your needs.
What is the best type of bike for me?
- Upright Stationary Bicycle– This is the most commonly used option. It can be harder to transfer on/off, but it best simulates riding outdoors. Be mindful that this may take up space in your home and may not be easy to store/takedown.
- Recumbent Bicycle – This is a great selection for any individual with balance and mobility difficulties as it is easy to transfer on/off. It also allows you to read a book or magazine while you utilize the device, as your hands are free.
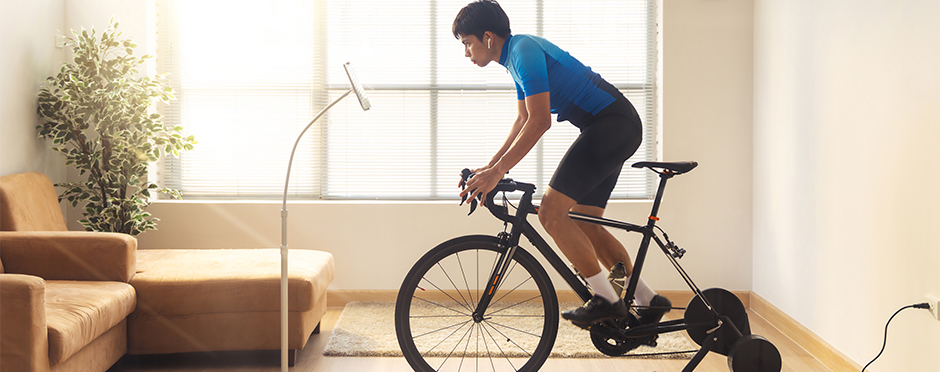
- Bicycle Trainer for your bike – This is a great option for a small space, you can set it up and take it down quite easily, and it is often a less expensive option as you are using your bicycle.
- “Smart Trainer” – This is a more advanced option for those who ride more frequently, enjoy analyzing their metrics, integrate technology, and prepare for specific events. Unless you are an experienced rider, I would look into the above options prior to this.
Now that you have the bike that’s best for you, now what?
1. Step one: Set yourself up for success
Make sure your bike is in a clean and open space. If possible, place a fan near your equipment to keep cool; and a table to store your water, phone, or other electronics you may need. I would also advise keeping a towel nearby or on the floor to prevent water and/or sweat. Before you begin training, it is also important to ensure your seat, handlebars, and pedals are all positioned appropriately so you can safely perform your exercise routine.
2. Step two: Make a Plan
Getting overly excited to go “all-in” and use your new equipment is easy. Instead, try to wean into exercise to avoid injury and overuse. Depending on your fitness level, start with 5 minutes of riding and make steady progress throughout the days/weeks/months. Listen to your body, take rest days and set achievable goals.
3. Step three: Have Fun
Exercise doesn’t have to be a chore. You can make it fun. Listen to music, watch a movie or challenge your peers to stay engaged with your exercise. Remember, at the end of the day, you are looking to get stronger, healthier, and happier; you are not punishing yourself for snacking or being “lazy”. Think of exercise as your play time and mental rest time and associate it with positive results.
Hopefully, this blog answers a few of your indoor cycling questions. If not, feel free to stop by your local Athletico for a full assessment to see if cycling is the right choice for you.
*Per federal guidelines, beneficiaries of plans such as Medicare, Medicaid, Tricare, VHA and other federally funded plans are not eligible for free assessments.
The Athletico blog is an educational resource written by Athletico employees. Athletico bloggers are licensed professionals who abide by the code of ethics outlined by their respective professional associations. The content published in blog posts represents the opinion of the individual author based on their expertise and experience. The content provided in this blog is for informational purposes only, does not constitute medical advice and should not be relied on for making personal health decisions.

1 Comment
Jack Ducan
If you have a speed or cadence sensor, heart rate monitor, or other cycling accessories, connect them to your bike and any compatible training apps or devices you plan to use.